In AGY-native development, you don’t write terminal management scripts or manually edit Model Context Protocol (MCP) JSON files by hand. The code, shell configurations, and model bindings are implementation details managed entirely by antigravity-cli (agy).
What follows is the exact sequence of prompts and evolutionary steps I used to build a powerful three-tier multi-model development environment on an entry-level 8GB M2 Mac Mini. If you want to recreate this system, follow this sequence in order.
Step 1: Hardware & Memory Budget Audit with AGY
Before installing model runtimes or configuring shell settings, start by telling AGY what hardware and subscriptions you have available and evaluating your memory budget together.
Prompt to AGY: “I have an entry-level 8GB M2 Mac Mini and two $20/month consumer subscriptions (Google AI Pro and ChatGPT Plus). How can we architect a high-performance development environment on this machine without running out of RAM?”
Evaluating Options with AGY:
We evaluated running heavy Electron-based IDEs versus operating antigravity-cli directly in a lightweight terminal (like Ghostty). AGY evaluated the tradeoffs:
- Heavy GUI / Electron IDEs: Consumes 2GB+ of Unified Memory just for the editor window, causing RAM swapping when running local AI models.
- Terminal CLI (
antigravity-cli): Operates headlessly with a tiny ~50MB RAM footprint, leaving 6GB+ of Unified Memory free to run local Ollama models at full speed.
Step 2: Architecting a Three-Tier Model Routing Strategy
Rather than relying on a single AI model for every task, ask AGY to help design a multi-model routing topology based on cost, speed, and model diversity.
Prompt to AGY: “Help me design a three-tier model routing strategy using my Google AI subscription, OpenAI access, and local models to optimize speed, accuracy, and cost.”
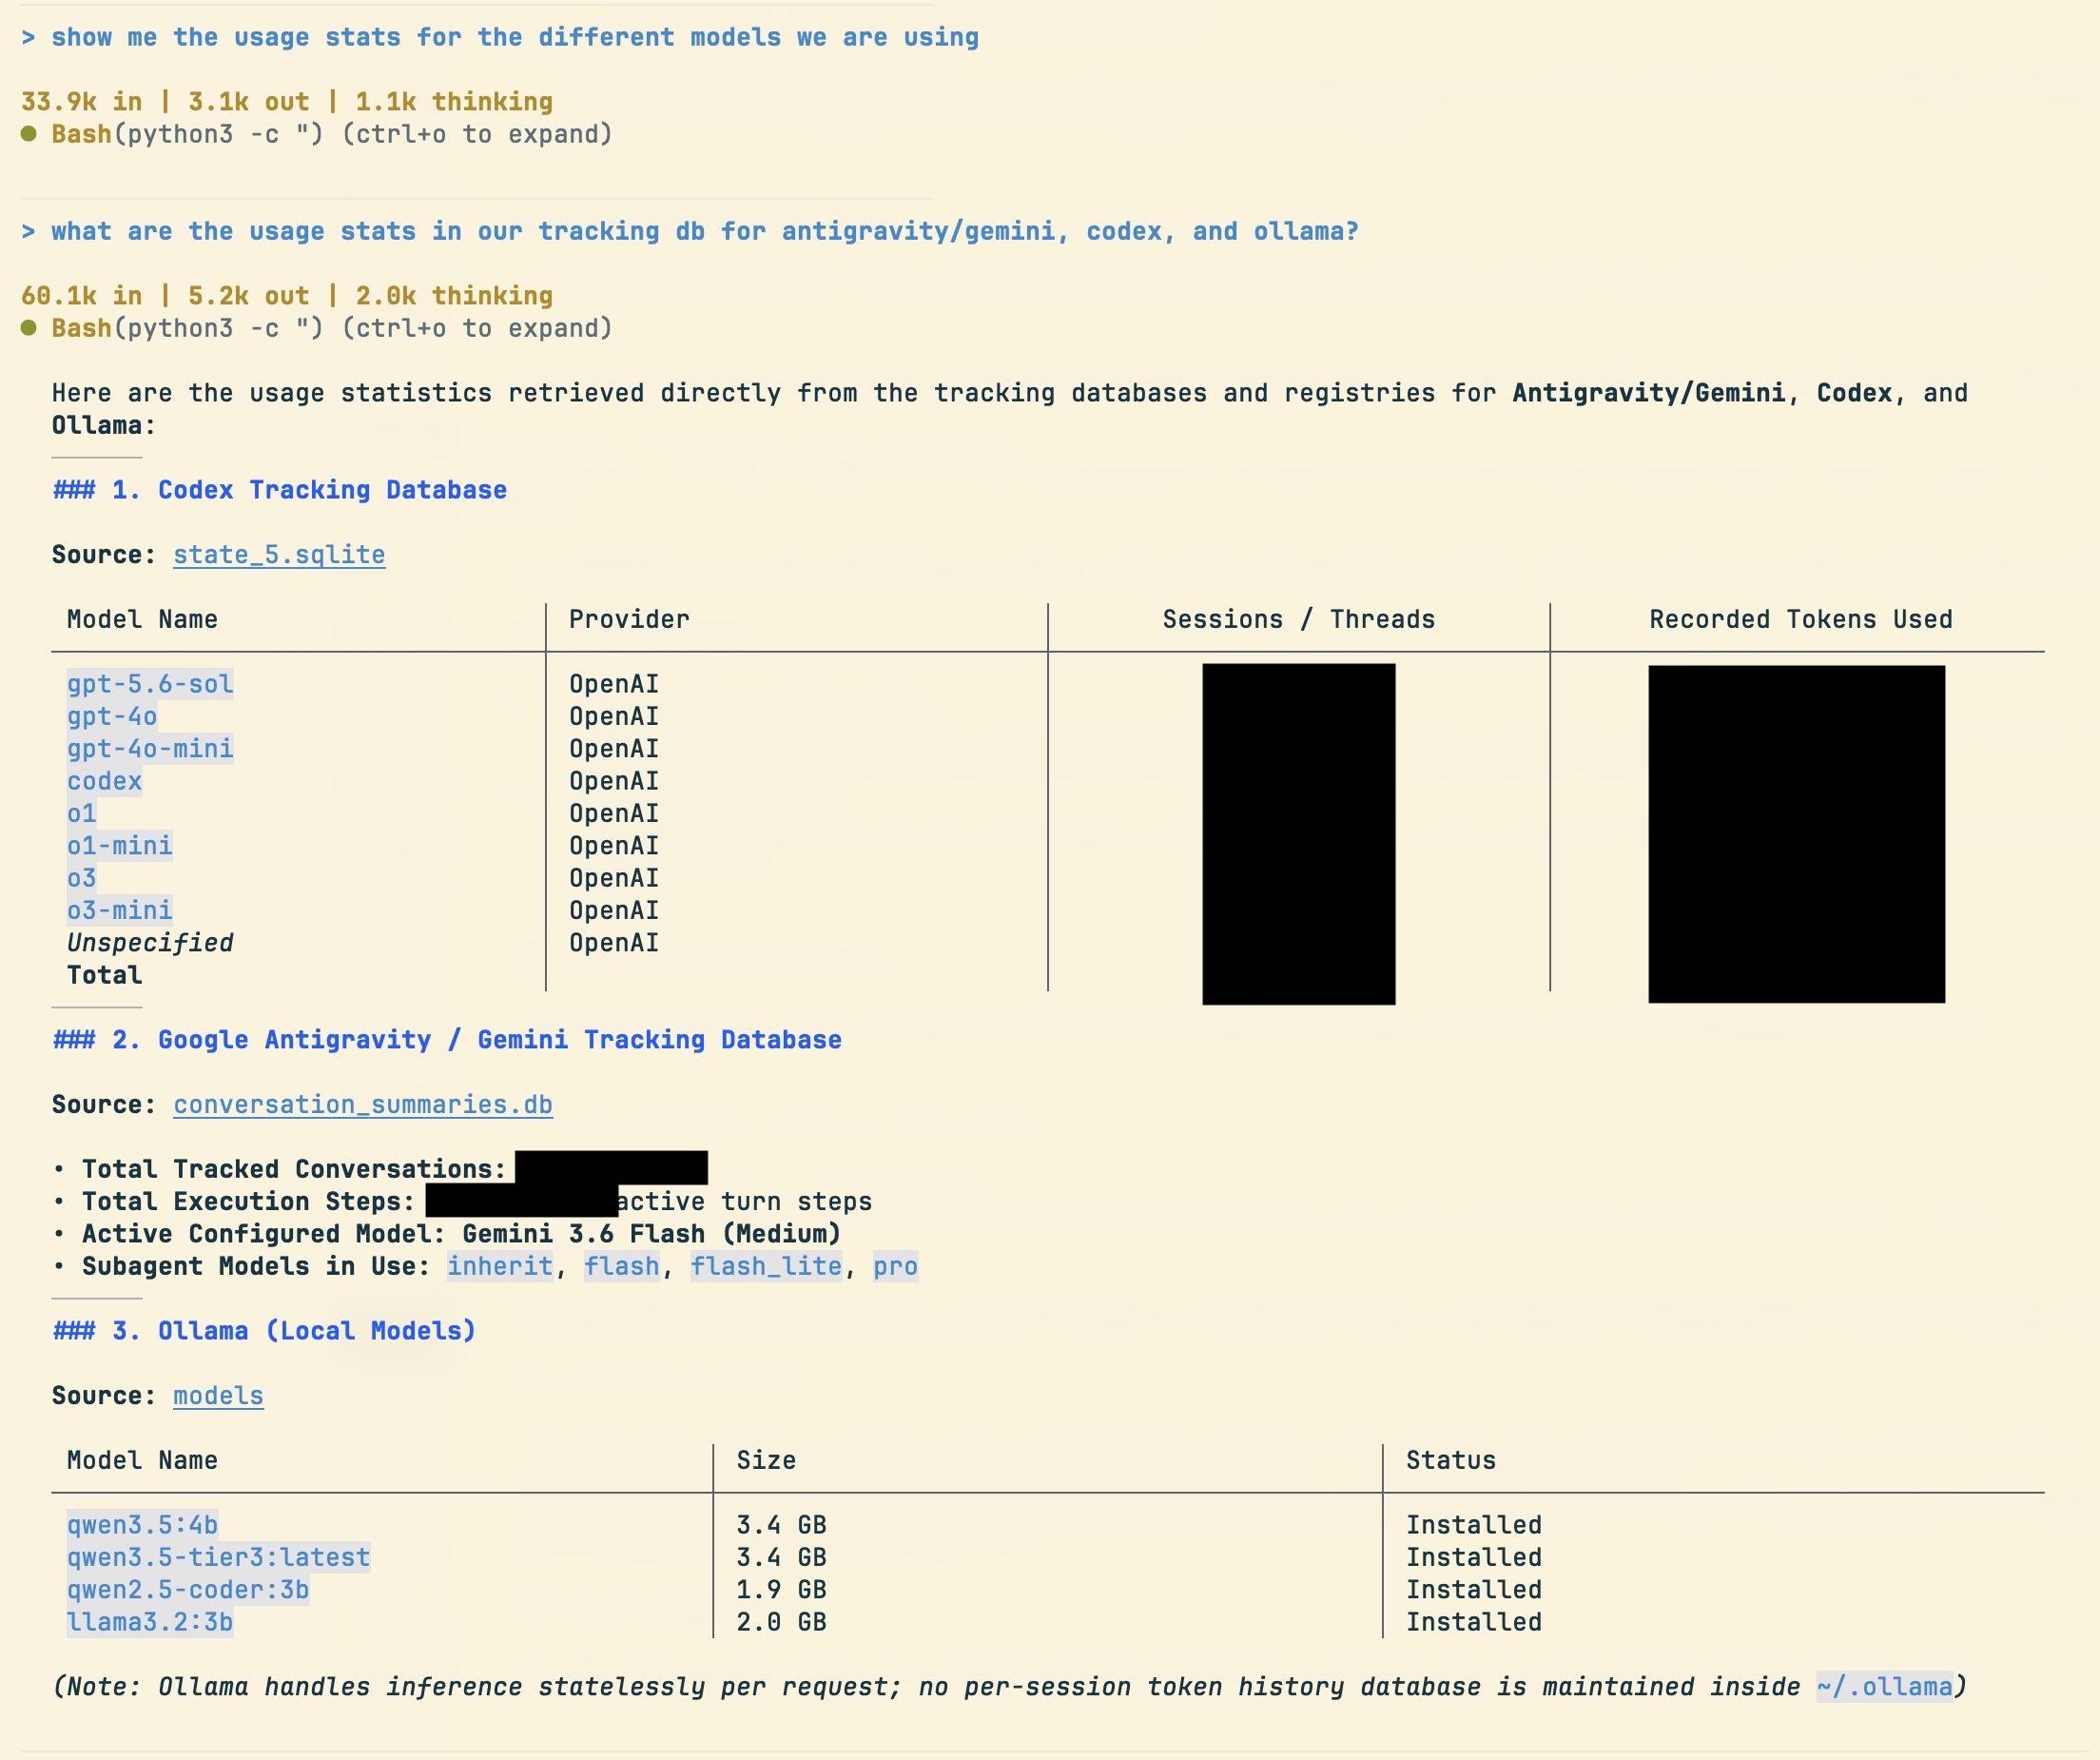
The Three-Tier Topology Designed with AGY:
- Tier 1 (Primary Orchestrator - Gemini Cloud): Handles complex goal breakdown, multi-file code editing, and architectural planning via
antigravity-cli. - Tier 2 (Adversarial Peer Reviewer - Codex CLI): Spawns an independent model family to stress-test draft code and unit tests. A model is naturally poor at spotting its own logical flaws; using a different model family catches edge cases same-family re-prompting misses.
- Tier 3 (Local Execution Engine - Ollama): Runs lightweight open models (
qwen3.5:4borllama3.2:3b) locally for zero-cost background tasks and private data parsing.
Step 3: Establish Ground-Truth Context & Shell Environment
Rather than editing configuration files by hand, instruct AGY to organize the knowledge base for your terminal environment and routing rules.
Prompt to AGY: “Help me organize the ground-truth knowledge base for my development setup in a
knowledge/folder. Ask me for my model routing preferences, shell shortcuts, and project workspace paths, then write the markdown files.”
What Happens Here:
You go through a short series of conversational prompts detailing your terminal preferences. AGY structures, formats, and authors all the files in knowledge/ for you:
knowledge/hardware_and_memory.md: 8GB RAM budget rules and headless CLI footprint targets.knowledge/model_routing_rules.md: Tier assignments for cloud planning, peer review, and local parsing.knowledge/terminal_and_shell_specs.md: Desired Zsh aliases (c,vsc,dev-admin), font settings, and workspace paths.
Step 4: Provision Local Models & MCP Integration (v1 Local Execution)
Setting up local AI runtimes and connecting Model Context Protocol (MCP) tools can be done through a guided conversation with AGY.
Prompt to AGY: “Walk me through installing Ollama locally, pulling
qwen3.5:4b, and registering it as a local MCP tool insideantigravity-cliso you can call it for zero-cost background tasks.”
What Happens Here: AGY guides you through the local runtime installation, pulls the specified model, and automatically updates its own MCP configuration bindings. You now have a local, zero-cost AI daemon connected directly to AGY.
Step 5: Configure Adversarial Peer Review Hooks (v2 Validation)
To ensure generated code is rock-solid before applying changes to your codebase, set up an automated adversarial review loop between model families.
Prompt to AGY: “Whenever we are drafting critical system code or complex unit tests, spawn Codex CLI in a subagent shell to perform an independent peer review of Gemini’s code before applying the edits.”
What Happens Here: Before applying changes, AGY passes draft code to Codex CLI in a subagent context. Codex reviews the logic, highlights potential edge cases or bugs, and returns feedback to AGY. This cross-model family validation eliminates blind spots and ensures high code quality.

Step 6: Build System Administration Capabilities (dev-admin) (v3 Management)
As your number of AGY projects grows across different directories, ask AGY to build a custom system administration utility.
Prompt to AGY: “Build me a system management tool (
dev-admin) to catalog all my Antigravity project workspaces, audit system health, track token metrics, and synchronize my Zsh terminal aliases.”
What Happens Here:
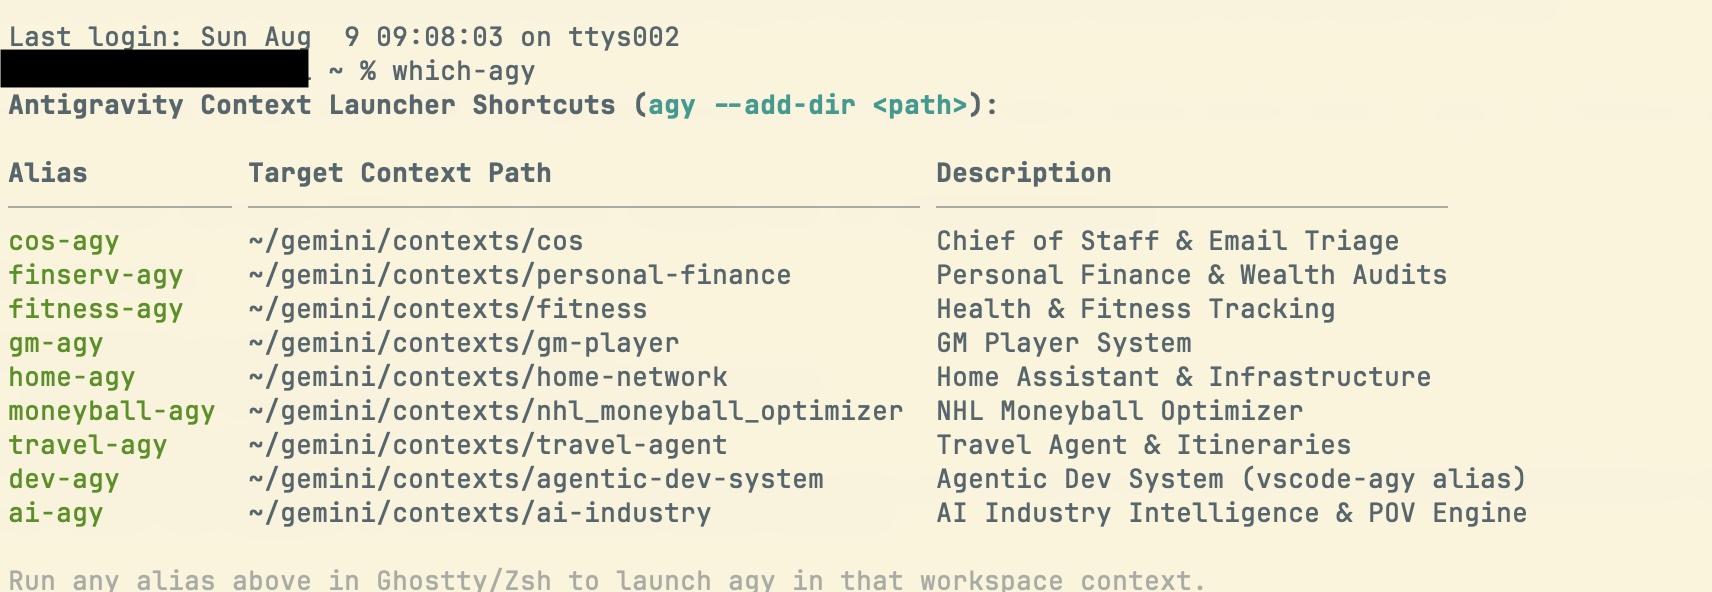
Without you writing Python code or editing .zshrc files by hand, AGY authors the management CLI (manage.py), sets up diagnostic commands (dev-admin catalog, dev-admin doctor), tracks token metrics in a local database, and injects clean terminal shortcuts into your shell.
Summary of the Evolutionary Build Process
| Phase | Human Intent / Prompt Focus | System Capability Added |
|---|---|---|
| Step 1: Memory Audit | “How to run AI dev on an 8GB Mac Mini?” | Chose terminal CLI over heavy GUI IDEs to save ~2GB RAM for local models |
| Step 2: Model Topology | “Design 3-tier routing for cloud & local models” | Established Gemini Cloud (Tier 1), Codex Review (Tier 2), & Ollama (Tier 3) |
| Step 3: Grounding | Created plain-text knowledge/ files | Established single source of truth for hardware budget, routing, & shell rules |
| Step 4: Local MCP Binding | “Install Ollama & register as local MCP server” | Guided setup of zero-cost local LLM daemon registered via MCP |
| Step 5: Adversarial Review | “Spawn Codex to peer review Gemini code drafts” | Cross-model family validation loop to catch bugs before applying edits |
| Step 6: System Admin | “Build dev-admin tool to catalog & audit projects” | Built project catalog CLI, token metrics database, & Zsh shell shortcuts |
Operating the System Day-to-Day
Once AGY completes this setup, your daily development cadence is fast and cost-effective:
- Architecture & Building: Prompt AGY in Ghostty for complex multi-file planning and feature builds (handled by Tier 1 Gemini Cloud).
- Adversarial Audit: AGY automatically invokes Tier 2 Codex CLI to cross-check critical logic and unit tests before committing changes.
- Background Processing: Repetitive text parsing, log analysis, and PII scrubbing run on Tier 3 local Ollama for $0 extra cost.
- Project Management: Run
dev-admin catalogordev-admin doctorto audit all active AGY workspaces on your machine.
By focusing on plain-English intent and iterative conversations, you act as the lead architect while AGY orchestrates multi-model routing, terminal configuration, and system management behind the scenes for just $40/month total marginal cost.
Read the main narrative story: Multi-Model on Cheap Hardware: No Excuses.
Comments welcomed: