In AGY-native development, you don’t write ESPHome C++ configs or craft Home Assistant YAML automations by hand. The code is an implementation detail managed entirely by antigravity-cli (agy).
What follows is the exact sequence of prompts and evolutionary steps I used to turn my home’s drywall and air into a solar-powered thermal battery using Home Assistant, a $26 ESP32 board, and AGY. If you want to recreate this system, follow this sequence in order.
Step 1: Hardware Audit & Deciding Where to Host Home Assistant
Before installing anything, start by telling AGY what hardware you have lying around and evaluating your hosting options together.
Prompt to AGY: “I want to set up Home Assistant to automate my home’s energy and HVAC. Here is the hardware I have available: an always-on Mac Mini host and a spare Raspberry Pi sitting in a drawer. What is the best way to host this?”
Evaluating Options with AGY: We contemplated running Home Assistant inside a Virtual Machine (VM) on the Mac Mini host versus deploying it on the standalone Raspberry Pi. AGY evaluated the tradeoffs:
- Mac Mini VM: Avoids extra hardware, but requires hypervisor management and complicates local network/device passthrough.
- Dedicated Raspberry Pi: Provides an isolated 24/7 home hub, low power consumption, and simple local subnet routing.
(Note for readers: A dedicated Raspberry Pi kit costs less than $200 if you want to buy one, but you can just as easily run Home Assistant in a VM on your computer or on any old hardware you already have lying around).
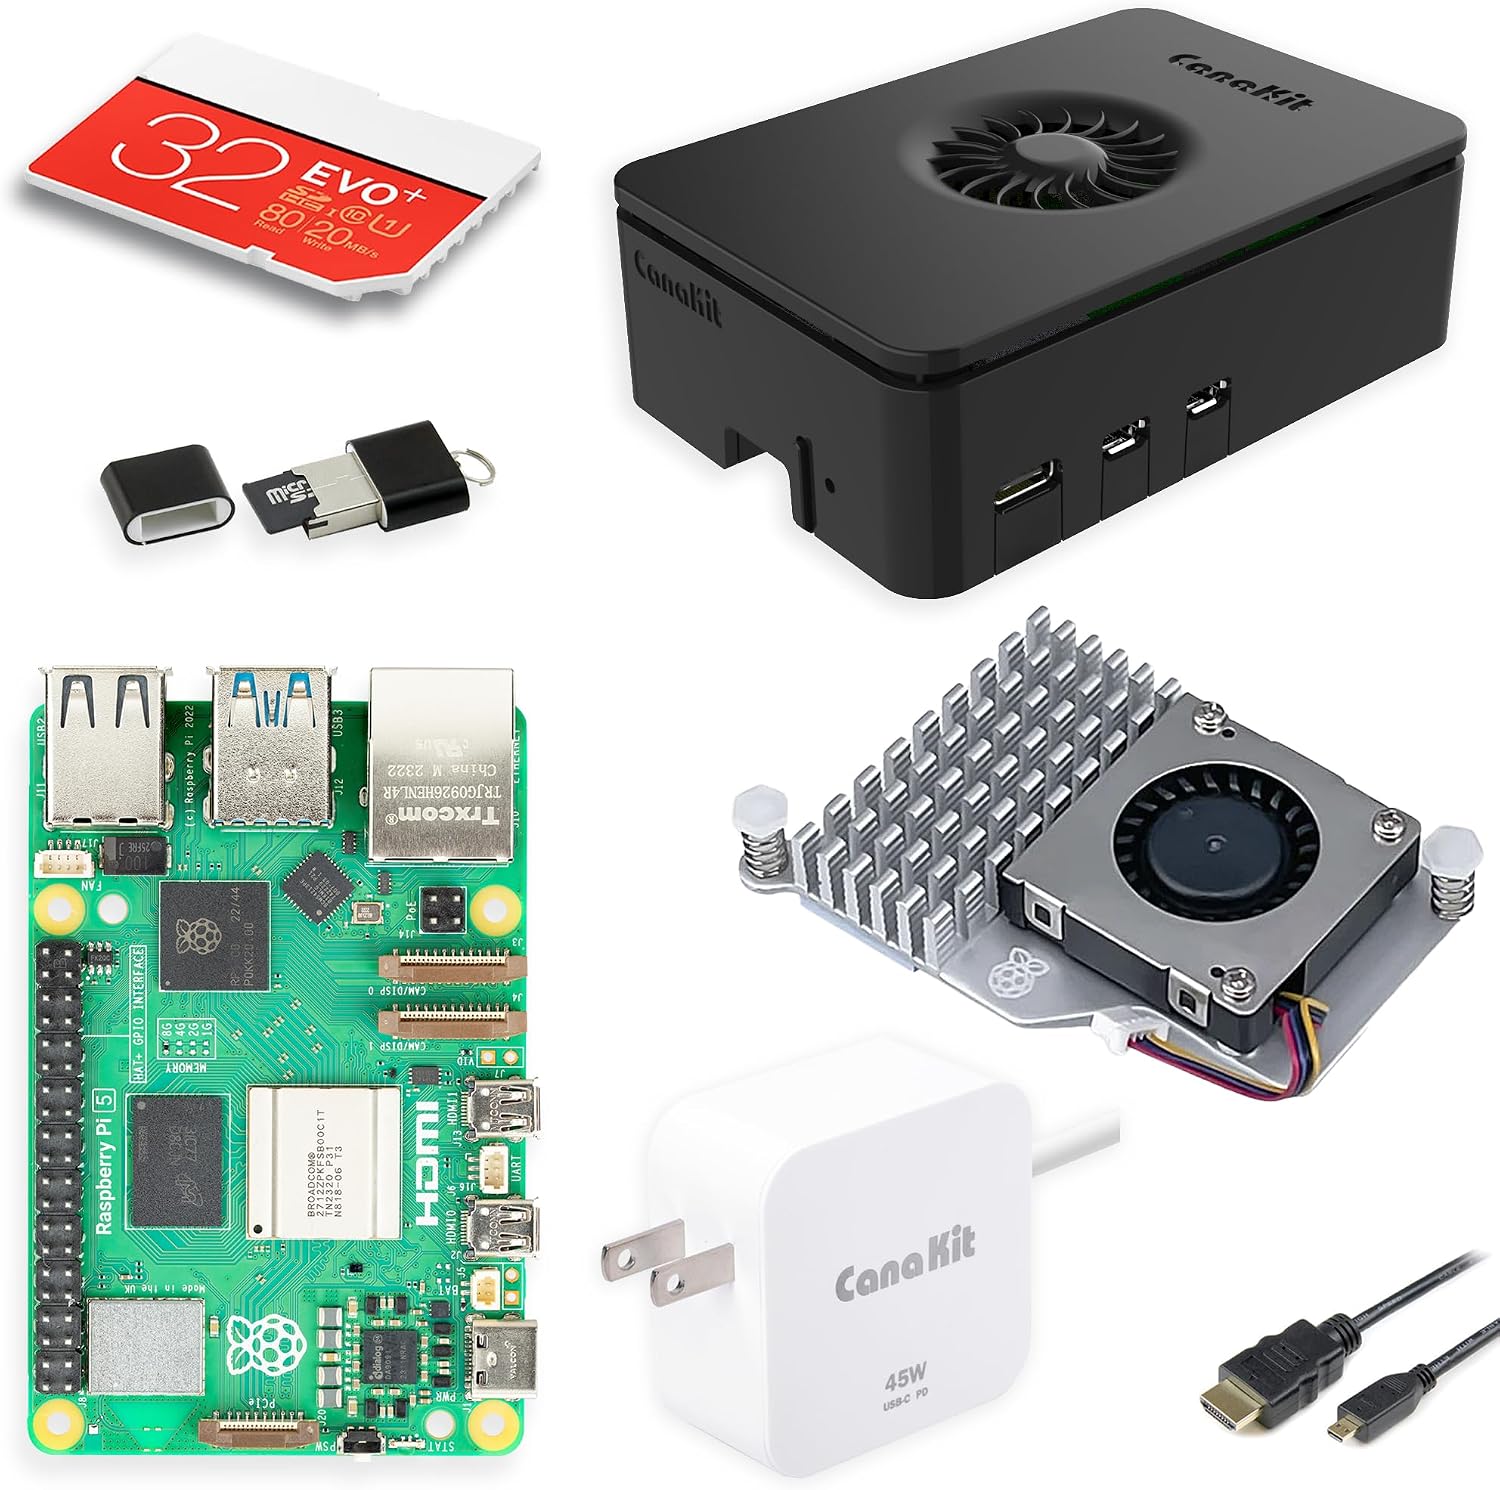 Amazon Link: CanaKit Raspberry Pi 5 Essentials Starter Kit
Step 2: Establish Ground-Truth Context & Energy Constraints
You don’t edit markdown files by hand. Instead, instruct AGY to organize the knowledge base for your home and feed it your constraints in plain language.
Prompt to AGY: “Help me organize the ground-truth context for my home automation in a
knowledge/folder. Ask me for my utility rate rules, furnace details, and family preferences, then write the markdown files.”
What Happens Here: AGY conducts a quick guided Q&A to capture your details, then formats and authors all the markdown files for you:
knowledge/utility_rates.md: Detail your solar setup (rooftop solar + Tesla Powerwall) and utility rate tiers (NEM 3.0 export rules vs 4:00 PM – 9:00 PM peak pricing).knowledge/hvac_specs.md: Detail your furnace model and climate targets (68°F precool target, 78°F peak setback).knowledge/family_ux_rules.md: Mandate preserving the physical wall LCD thermostat so manual family adjustments always override automated logic.
Step 3: Provision Home Assistant & Direct AGY Connection (v1 Infrastructure)
Once you select your hosting target, use AGY to guide the installation and take over remote management immediately.
- Get Guided Setup: Ask AGY: “Give me the step-by-step instructions to flash and install Home Assistant OS on my Raspberry Pi.”
- Establish Direct Link to AGY: Immediately after installation, prompt AGY: “Set up a direct, secure connection between
antigravity-clion my Mac Mini host and the Raspberry Pi running Home Assistant.”
What Happens Here: Once the direct link is established, you never log into the Raspberry Pi or manually edit configuration files again. From this point forward, AGY handles 100% of the Home Assistant setup, integration installs, and configuration directly over that connection.
Step 4: Furnace Remote Management & Hardware Recommendation (v2 Hardware)
Rather than assuming what hardware to buy, start by asking AGY for a recommendation based on your specific equipment.
Prompt to AGY: “Here is my furnace model information. What’s the best way to manage it remotely without losing its variable-speed efficiency? Should I get a Google Nest or something else?”
AGY’s Recommendation: AGY evaluated my furnace specs and advised against a Google Nest. Off-the-shelf smart thermostats act as simple on/off switches, stripping away the variable-speed modulation that makes a multi-stage furnace efficient in the first place. Instead, AGY recommended a $26 ESP32 microcontroller board. (Note: Depending on your specific furnace make and model, AGY might recommend a different hardware solution for your setup).
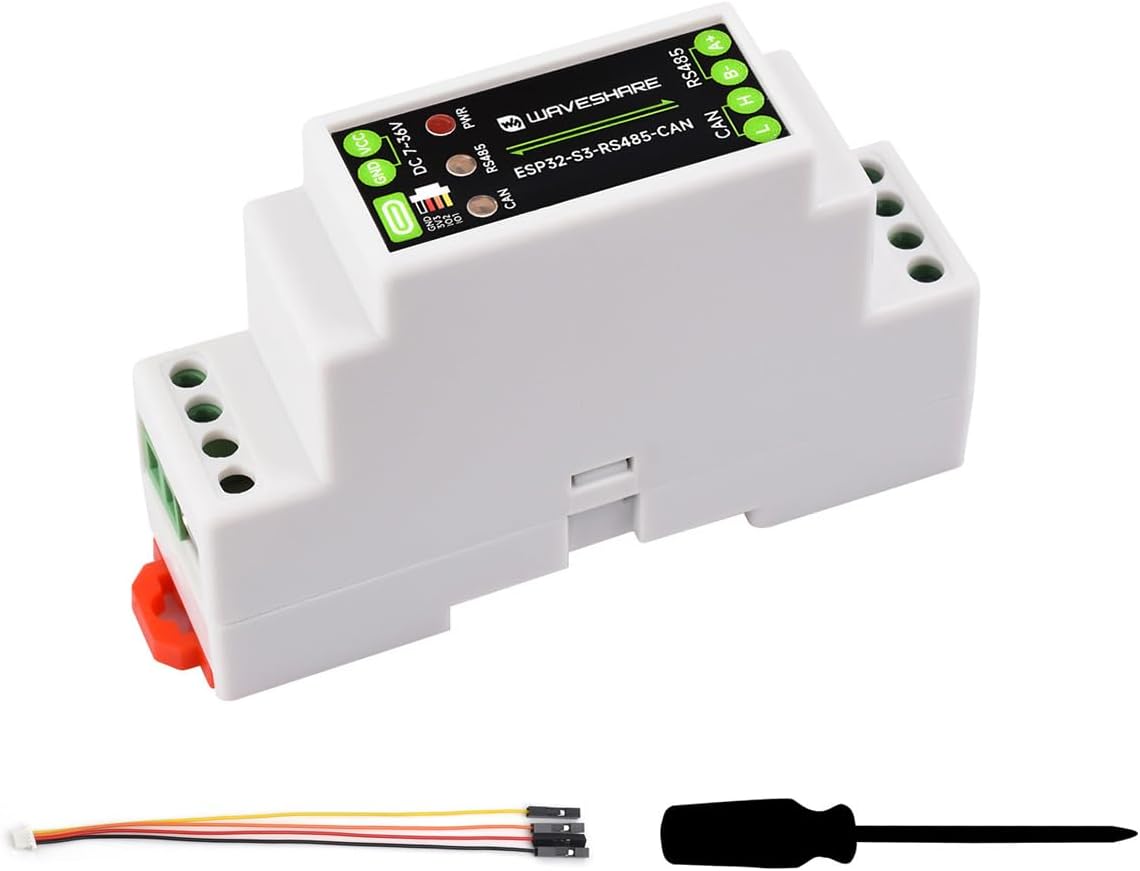 Amazon Link: ESP32 Microcontroller Board
-
Hardware Setup: I bought the recommended $26 ESP32 board on Amazon and wired it to the furnace control board in parallel with the wall thermostat.
-
Multi-Prompt Setup & Firmware Flashing:
Prompt to AGY: “I bought the ESP32 board. Help me wire it to my furnace board and flash the ESPHome firmware over the network so it can control heating and cooling.”
NOTE: This did involve me actually opening up the side panel to the furnace and connecting two wires to two terminals on the furnace control board. AGY drew a picture for me and gave me confidence and it was honestly pretty fun to crack open the furnace and wire something into it. If you do this yourself, turn off the power first, and do it at your own risk (AGY said the same to me!)
Iterative Trial & Error Debugging: Getting the multi-stage relay timing right was a multi-prompt conversation. When initial relay test cycles threw interlock warnings, AGY read the live ESPHome logs, diagnosed the timing conflict, and updated the configuration through trial and error until switching was rock-solid.
Step 5: Author Precooling Automations & Custom Dashboards (v3 Automation)
With Home Assistant directly managed by AGY and the furnace connected via ESPHome, tell AGY what you want to achieve in plain English.
Prompt to AGY: “Write an automation in Home Assistant to turn the AC down to 68°F when my battery is full and there’s more than an hour left before NEM peak rates kick in, then set it back to 78°F once peak rates start at 4:00 PM.”
Prompt to AGY: “Build me a custom dashboard in Home Assistant so I can see live solar power generation, battery state, and how the house holds temperature.”
Troubleshooting Unpredicted Constraints (Tesla API Daily Rate Limit): Almost immediately after turning the system on, telemetry updates stopped. The Tesla API enforces a daily request limit that aggressive polling hit almost instantly.
Instead of searching forums, I asked AGY to troubleshoot:
Prompt to AGY: “The Tesla data stopped updating. Looks like an API rate limit error. How do we fix this?”
AGY analyzed the error logs and creatively redesigned the polling strategy—implementing a twice-hourly polling schedule that scales up sampling only right before the 1:00 PM precooling window. This completely resolved the issue without missing precool triggers. When unexpected API or hardware errors arise, AGY proves to be a highly creative troubleshooting partner.
Step 6: Consolidate Mismatched Smart Home Ecosystems (v4 Hardening)
Smart home setup is rarely a single prompt—it is a series of guided prompts where AGY walks you step-by-step through configuring integrations and mapping devices.
Prompt to AGY: “Walk me through setting up Google Home and Apple HomeKit integrations in Home Assistant so all my smart devices show up and can be controlled in the Apple Home app.”
What Happens Here: Over a short series of prompts, AGY guides you through pairing integrations, maps cloud-dependent Wi-Fi switches to local Z-Wave devices, and builds a zero-trust, local-only home automation network.
Summary of the Evolutionary Build Process
| Phase | Human Intent / Prompt Focus | System Capability Added |
|---|---|---|
| Step 1: Hardware Audit | “What hardware do I have & where to run HA?” | Audited Mac Mini VM vs Raspberry Pi (<$200 or spare hardware) |
| Step 2: Grounding | Created plain-text knowledge/ files | Established rate structures, HVAC specs, & wall thermostat UX rules |
| Step 3: Infrastructure | “Guide Pi install & establish direct AGY link” | Installed HA on Pi and handed off 100% of ongoing remote config to AGY |
| Step 4: Hardware Choice | “How to control my furnace model remotely?” | AGY advised ESP32 ($26 on Amazon) over Nest; flashed & debugged firmware logs |
| Step 5: Automation & UX | “Precool to 68°F when solar full before peak rates” | Built HA energy automations, dashboards, & solved Tesla API daily rate limits |
| Step 6: Consolidation | “Walk me through Google & HomeKit integrations” | Guided multi-prompt setup to consolidate devices locally into Apple Home |
Operating the System Day-to-Day
Once AGY deploys this setup, operation is completely hands-off:
- Solar Arbitrage: On sunny afternoons, precooling engages automatically at 1:00 PM on free excess solar.
- Peak Coasting: At 4:00 PM, the AC shuts off completely. The house slowly warms up from 68°F while the Tesla Powerwall carries basic household loads late into the night.
- Manual Override: Anyone in the house can walk up to the wall thermostat and adjust the temperature manually at any time without breaking the system.
By focusing on plain-English intent and iterative conversations, you act as the system architect while AGY handles all firmware compiling, log debugging, SQL analysis, and dashboard authoring behind the scenes.
Read the main narrative story: Turning My House into a Thermal Battery.
Comments welcomed: